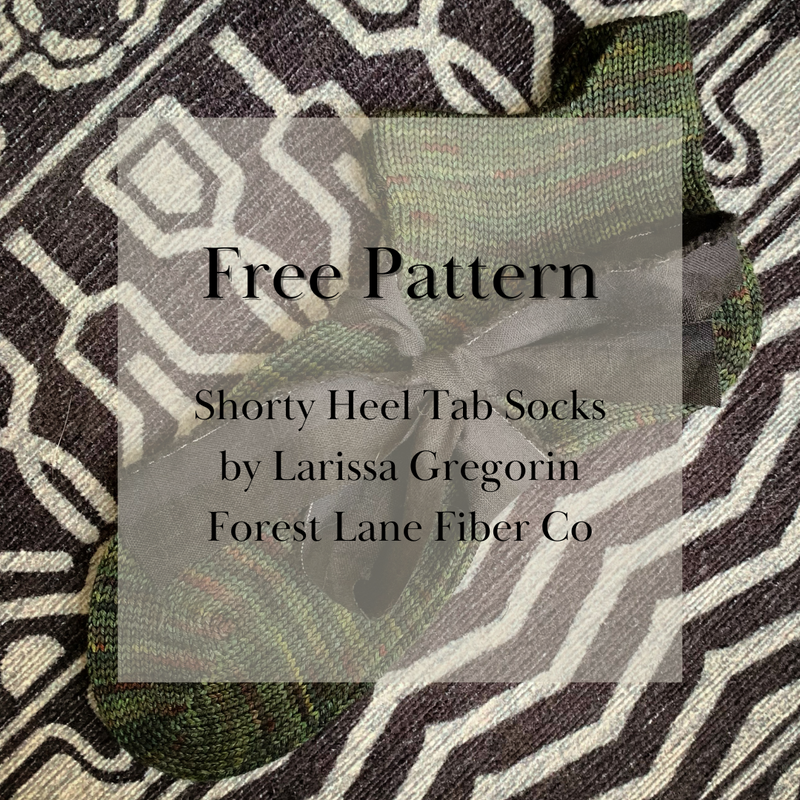
Knitting Pattern - Heel Tab Shorty Socks
•Posted on October 28 2022

I have a gift for you.
Since so many of you have been admiring my Shorty Heel Tab Socks that I make on my circular sock machine, I wanted to be sure you could make them as well! I truly love these socks and would wear them exclusively if I had enough pairs!
It is a handknit pattern that I adapted to be identical to the method that I use to make them on the sock machine. It took some reverse engineering, and we did it!
The sock begins with a folded over cuff that includes a short row heel tab, and instructions for making a short row heel & toe are also a part of the sock as I wanted to translate as literally as I could the method of making these socks on my machine. It finishes by using the kitchener stitch to graft the top of the sock together where the instep meets in the toe.
Of course you're welcome to make whichever heel & toe you prefer, using this pattern as a guideline for specifications.

Finished Circumference: (6 ¼, 6 ¾, 7 ½)” / (16, 17, 19.5) cm foot circumference; intended to be worn with 1½” / 4 cm negative ease. Adjustable foot length.
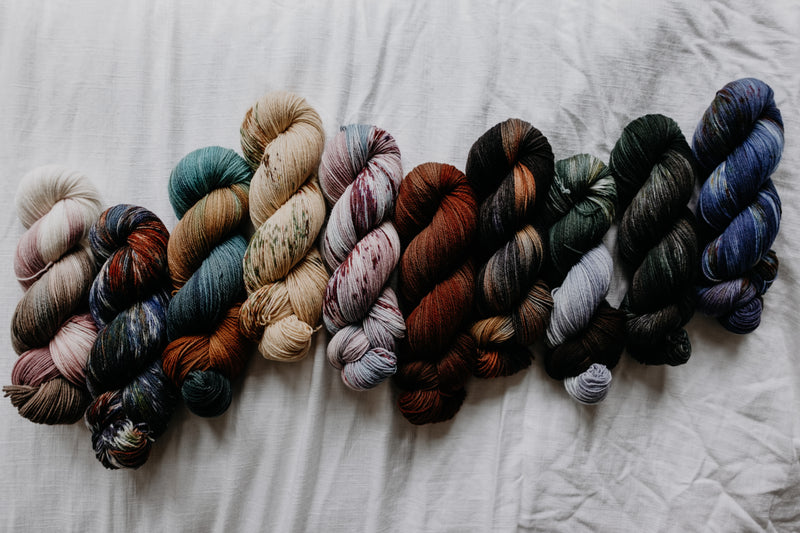
Yarn: Sock yarn [415 yards / 380 meters per 100 g]
Yardage: 1 skein (all sizes)
Gauge: 38 stitches and 48 rounds = 4” / 10 cm in stockinette stitch
Needles: US 0 / 2.0 mm circular needle (32” / 80 cm for magic looping) or preferred needle length for small diameter knitting; adjust needle size to match listed gauge.
Notions: 2 unique stitch markers for BOR and side, removable stitch marker to measure foot length, darning needle for grafting & weaving in ends, scrap yarn for provisional cast-on (optional).
Techniques: Flat and circular knitting, short rows using the German Short Row method, Kitchener stitch.
Pattern Notes: Sock is cast on at the lower edge of the cuff, which is then worked with short-row shaping to create a heel tab before folding the cuff & joining live stitches to the cast-on edge to create a fold-over hem. Short-row shaping is also used for the heel and toe.
Cuff
Cast on (60, 64, 72) stitches either provisionally or using a reasonably stretchy cast-on such as the long tail method. If working a provisional cast-on, use a color that contrasts well with your sock yarn.
Place marker for BOR & join to knit in the round. Knit (30, 32, 36) stitches and place halfway marker.
Knit for 10 total rows, not including the provisional cast-on. Note: If you cast on directly, you can count your cast-on row as row 1.
Heel Tab
Row 1 [RS]: Knit until 3 stitches before halfway marker. Turn.
Row 2 [WS]: Make double stitch and purl until 3 stitches before BOR marker. Turn.
Row 3 [RS]: Make double stitch and knit until, but not including, next double stitch. Turn.
Row 4 [WS]: Make double stitch and purl until, but not including, next double stitch. Turn.
Rows 5-8: Repeat Rows 3-4 two more times.
Row 9 [RS]: Make double stitch and knit to next double stitch. Do not turn. knit into both loops of one double stitch. Turn.
Row 10 [WS]: Slip 1, purl up to the next double stitch. Purl into both loops of one double stitch. Turn.
Row 11 [RS]: Slip 1, knit up to the next double stitch. Knit into both loops of one double stitch. Turn.
Next Round: Slip 1, knit in the round, knitting into both loops of each double stitch as you come to them.
Knit 9 more rounds.
Fold Over Hem
On the next round, knit each stitch together with a purl bump from the cast-on/first round of sock yarn.
Knit for 10 rounds.
Heel
Row 1 [RS]: Knit to (2, 3, 4) stitches past halfway marker. Turn.
Row 2 [WS]: Make double stitch. Purl until (2, 3, 4) stitches past the BOR marker. Turn.
Row 3 [RS]: Make double stitch. Knit until, but not including, next double stitch. Turn.
Row 4 [WS]: Make double stitch. Purl until, but not including, next double stitch. Turn.
Repeat Rows 3-4 until (10, 12, 14) stitches remain in the center. On the final RS row, DO NOT turn. Knit into TWO double stitches, remembering to knit into both loops of each double stitch. Turn.
Row 5 [WS]: Slip 1 stitch, purl until the next double stitch. Purl into TWO double stitches, remembering to purl into both loops of each double stitch. Turn.
Row 6 [RS]: Slip 1, knit until next double stitch. Knit one double stitch. Turn.
Row 7 [WS]: Slip 1, purl until next double stitch. Purl one double stitch. Turn.
Next Row [RS]: Slip 1, knit up to double stitch; slip this stitch from the left to the right needle with yarn in the back, making sure to include all strands. Turn.
Next Row [WS]: Yarn over, purl the double stitch, then purl across to the next double stitch. Slip this stitch from the left to the right needle with yarn in front, making sure to include all strands. Turn.
Next Row [RS]: Yarn over, knit double stitch, knit to BOR.
These yarnovers will be knit together with the first stitch on either side of the heel stitches to close the little gap that occurs in that space. It will want to sit very close to the last double stitch, so take care to knit it together with the first instep stitch.
Foot
Next Round: Knitting all stitches, knit together the first yarnover with the (3rd, 4th, 5th) stitch past the midway marker and the second yarnover with the (3rd, 4th, 5th) stitch before BOR. See video above.
Now is a good time to place a progress keeper to track rows or measure length for the foot.
Knit in the round until you are ready to start the toe, approximately 2” / 5 cm less than the desired foot length.
Toe
Row 1 [RS]: Knit to halfway marker. Turn.
Row 2 [WS]: Make double stitch. Purl until BOR marker. Turn.
Row 3 [RS]: Make double stitch. Knit up to double stitch. Turn.
Row 4 [WS]: Make double stitch. Purl up to double stitch. Turn.
Repeat Rows 3-4 until (10, 12, 14) stitches remain in the center. On the final RS row, DO NOT turn. Knit into TWO double stitches, remembering to knit into both loops of each double stitch. Turn.
Row 5 [WS]: Slip 1 stitch, purl until the next double stitch. Purl into TWO double stitches, remembering to purl into both loops of each double stitch. Turn.
Row 6 [RS]: Slip 1, knit until next double stitch. Knit one double stitch. Turn.
Row 7 [WS]: Slip 1, purl until next double stitch. Purl one double stitch. Turn.
Repeat Rows 6-7 until all double stitches have been knit, ending after working a purl row.
You should be at the BOR.
Kitchener
Snip a yard/meter-long tail to use for kitchener. If you have them, I suggest transferring your stitches onto two small DPNs (I use size US 00/1.75mm).
Pick up an extra stitch in the same row as the front needle stitches on either side of the live stitches. Do the same on the back needle stitches.
Using a darning needle and your yarn tail, go into the first stitch on your first needle knitwise & slip off the needle. Go into the next stitch on the first needle purlwise. Go into the first stitch on the rear needle purlwise & slip off the needle. Go into the next stitch on the rear needle knitwise.
Continue in the regular kitchener pattern (k1 front, off//p1 front//p1 back off//k1 back) until two stitches remain on each needle.
Knit into the front needle’s first stitch, and immediately purl into the next stitch on the front needle. Slip them both off.
Purl into the back needle's first stitch, and immediately knit into the next stitch. Slip them both off.
Thread the tail to the inside of the sock. Weave in ends. Enjoy.
Abbreviations & Stitch Glossary
BOR - beginning of round
double stitch (German Short Rows) - https://www.youtube.com/watch?v=hrMHUlqWH2o


k - knit
kitchener - https://youtu.be/W7i5JwEReW0?t=100
p - purl
RS - right side, the visible side of the garment when worn
slip - holding yarn to WS, slip next stitch as if to purl
WS - wrong side, the inside of garment when worn
yarnover - wrap working yarn around the right-hand needle counterclockwise


Comments
0 Comments
Leave a Comment